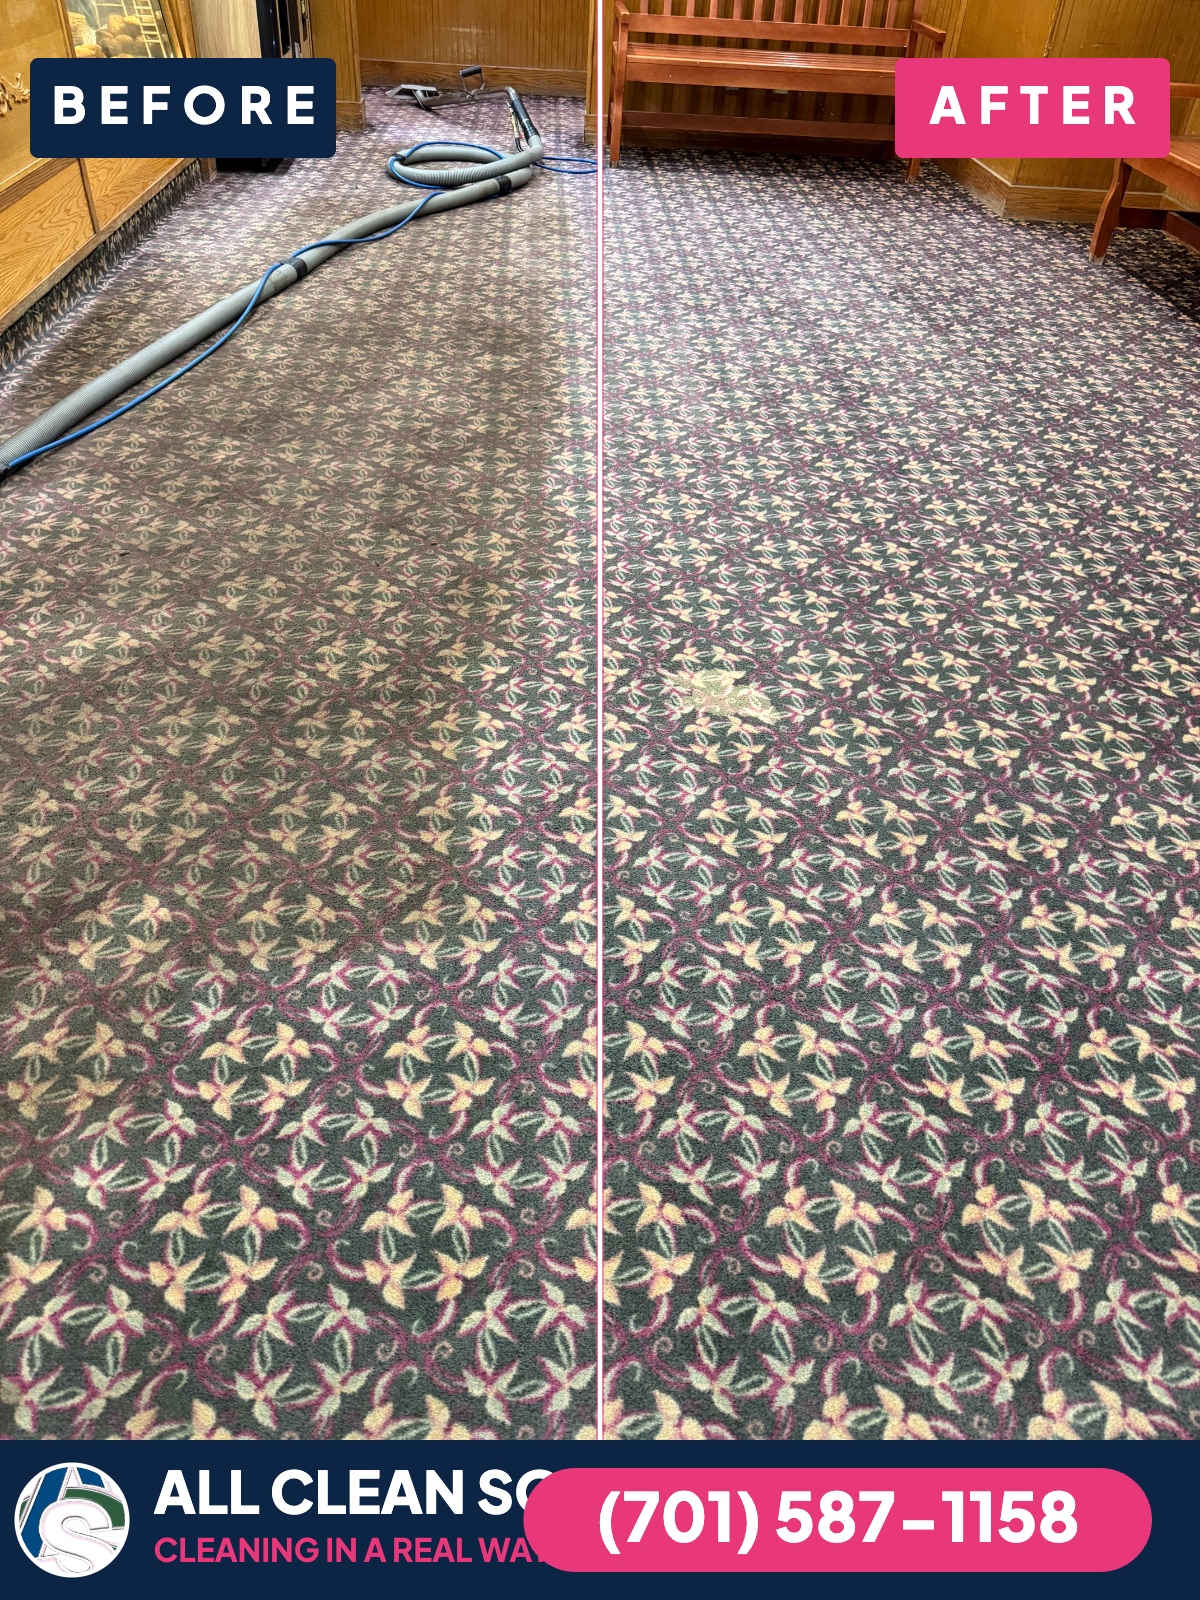
A dramatic carpet photo is easy to post and easy to misunderstand. Different lighting, camera exposure, pile direction, wet fibers, moved furniture, or a tighter crop can make two images look more different than the carpet actually is. Good documentation should help the customer evaluate the work, not manufacture a result.
Before-and-after images are most useful for recording scope, pre-existing damage, important spots, and visible change. They are not a guarantee that every stain or odor was removed, and they cannot show what may remain below the carpet.
Take the “before” photo before moving the evidence
Begin with one wide photo that establishes the room and one closer image of each concern. Keep the camera level and note where the spot is located. When size is not obvious, include a neutral reference object without covering the affected area.
Document conditions that may affect expectations:
- Traffic wear or crushed pile
- Fading near windows or under moved furniture
- Loose seams, tears, ripples, or damaged transitions
- Pet locations and known subsurface concerns
- Products already applied to a spot
- Furniture that will remain in place
Photographs should be taken with permission and framed to avoid private documents, faces, family photographs, addresses, or other unnecessary personal information.
Match the “after” image as closely as possible
Use the same camera position, direction, zoom, and room lighting. Avoid turning on a bright flash only for the second image. Carpet pile reflects light differently when it is brushed in another direction, so grooming lines should not be presented as removed discoloration.
Timing also matters. Freshly cleaned carpet can look darker while damp. Typical drying is often about two to four hours, but airflow, humidity, temperature, carpet construction, and treatment depth can change that. For a fair color comparison, note whether the after photo was taken wet, partly dry, or fully dry.
What photographs cannot prove
A photo cannot confirm sanitation, odor removal, dryness below the surface, or long-term stain behavior. It also cannot turn physical wear, dye loss, or sun fading into removable soil. Written notes and a walkthrough are needed when those details matter.
All Clean Solutions may photograph relevant areas when practical and with customer awareness. A before-and-after walkthrough gives the customer a chance to identify anything that needs explanation. If a spot is expected to change while drying, that should be stated rather than hidden.
Use documentation to improve the next service
Keep a small set of labeled images instead of dozens of unexplained closeups. Record the room, date, concern, products used, and whether the carpet was dry. Those notes make it easier to distinguish a recurring spill from a stain that wicked back or a traffic lane that accumulated new soil.
If you are comparing carpet-cleaning options, ask how the company inspects fibers, handles colorfastness, rinses products, manages drying, and sets stain expectations. You can review the All Clean Solutions carpet cleaning process for Bismarck and Mandan or request an estimate for specific rooms and concerns.